Often what happens is you create campaigns with different use cases in mind but they start to appear for the same user and a user is bombarded with multiple notifications on the same page. Or there are notifications which are for the same purpose but once the purpose is achieved you don’t want to show any of them. Our “Groups” feature allows you to do handle these cases easily.
You can put selected notifications in a group. Apart from their own targeting these notifications now follow group rules.
Example 1: A lead focused company asks for lead by dynamically showing 2 forms on different pages of the website. Both the forms are put into a group. Once he fills lead in one of the forms, the second form will not be shown to him. But, if he doesn’t do anything, both forms will be shown to him on respective pages. This is actually useful to avoid getting duplicate leads. You can create a group with type “Don’t display after fill/click”.
Example 2: Let us discuss a complex use case now. I want to run a campaign for which I will put four notifications in a group. Below are the details of four notifications that I need to show to my target audience:
Notification 1
Notification 2
Notification 3
Notification 4
My aim is that a visitor should see only one notification at a time. If he submits his details on the first notification or dismisses it, he should be shown the second notification. If he clicks on second notification, he should be shown the third widget. And the cycle should go on till all the notifications are shown.
How to do this?
1. Login to your Connecto account. Create 4 notifications that serve your purpose.
2. Choose Groups>>Others from left nav
3. Click on “Create New Group”
3(a): Assign the group a suitable name to help you filter it out from the pool of groups that you would be creating in future
3(b): Define group type – Select “Display based on priority”
3(d): Choose the notifications that you want to put in this group
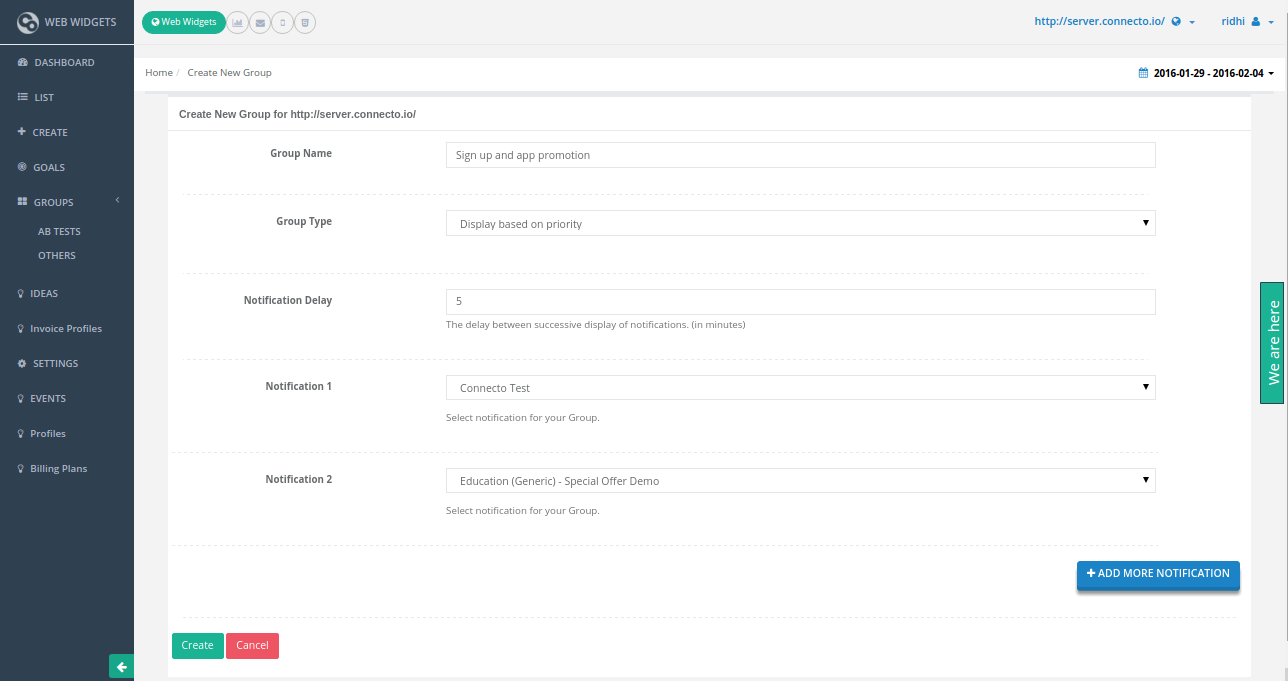
4. Save and done!