1. Login to your Connecto account here. You will land on our default dashboard for web notifications.
2. Go to HTML 5 notifications app which can either be accessed from top left navigation bar or can be accessed directly from here.
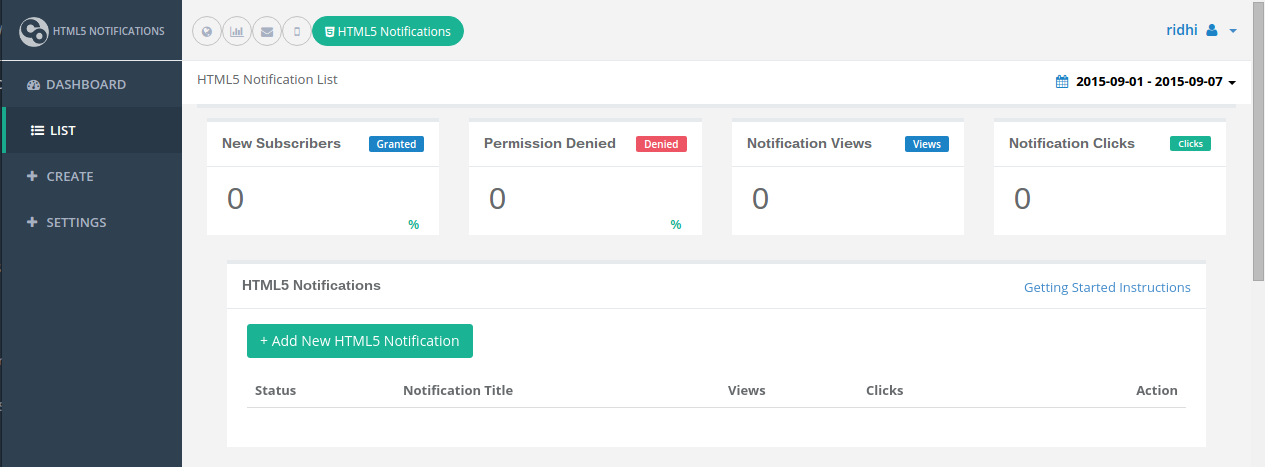
3. Click on “Add New HTML 5 Notification”.

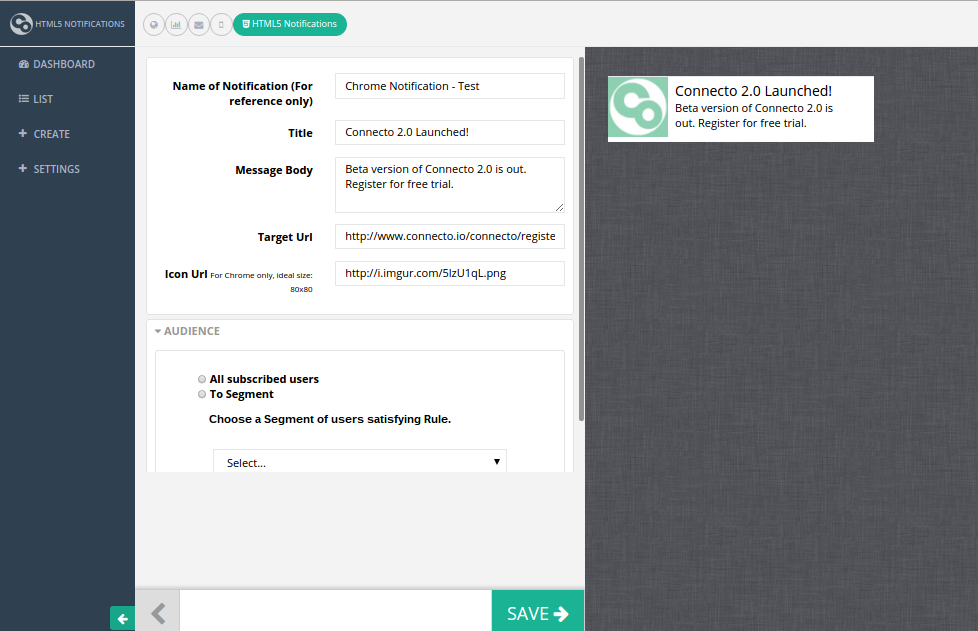
4. Create the notification by defining all variables and save it.
- Name of Notification: This is only for your reference. Name it such that it helps you identify a particular notification from a pool of existing notifications.
- Title: This is the heading of your notification. It should specify what the notification is about.
- Message Body: Write your message in brief here.
- Target URL: This is the URL where a user will land after clicking on the notification.
- Icon URL: This is the URL of the icon you would want to display on the notification. Usually it is the website’s logo.
- Audience: To send this notification to all the users who have subscribed for notifications, select “All Subscribed Users”. If you want to send it to a specific segment that you have created using our events framework, choose the pre-created segments.
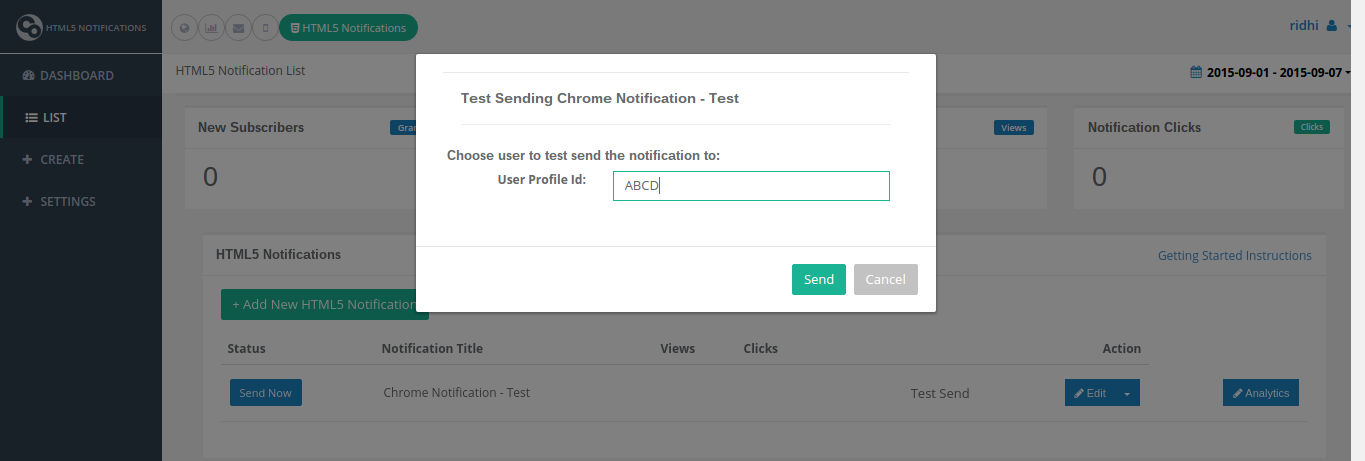
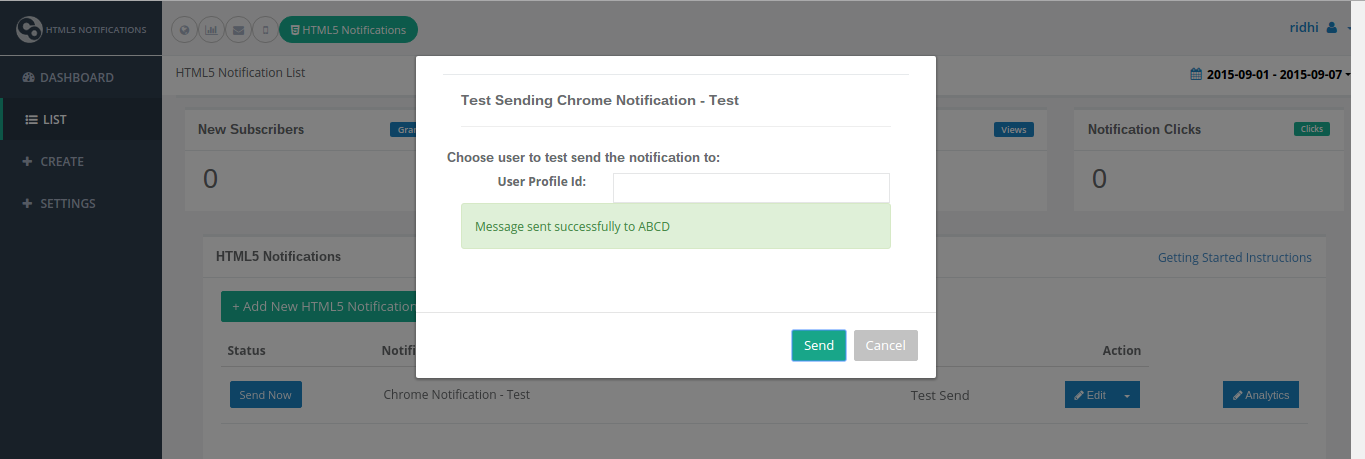
5. Test Send the notification
Before sending the notification to all users, you can send a test notification to check if it looks okay to you. Click on “Test Send” and put your user profile id in the pop up.
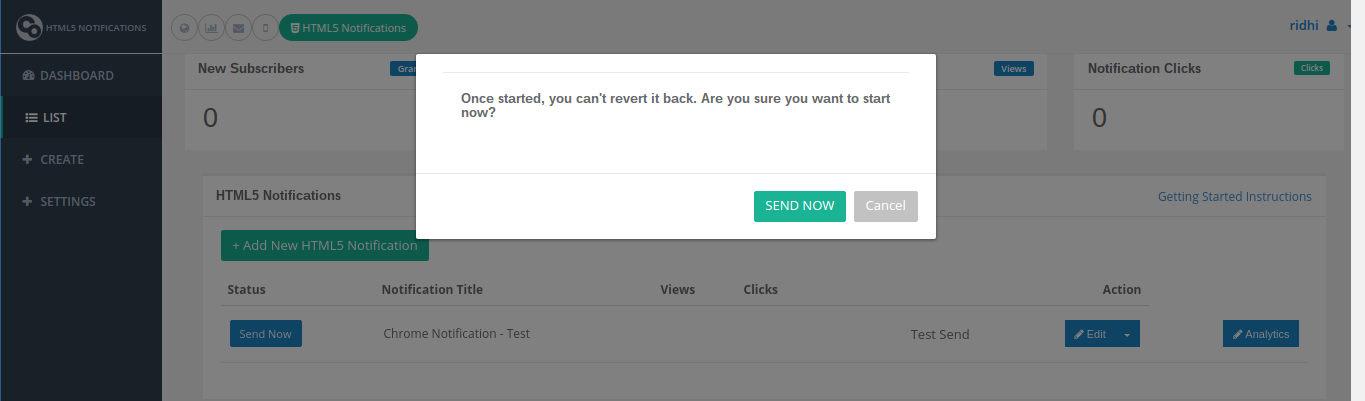
6. Send to the users
Click on “Send Now” to send it to your subscribers.